
One Box
Full and Queen Ship in One Box
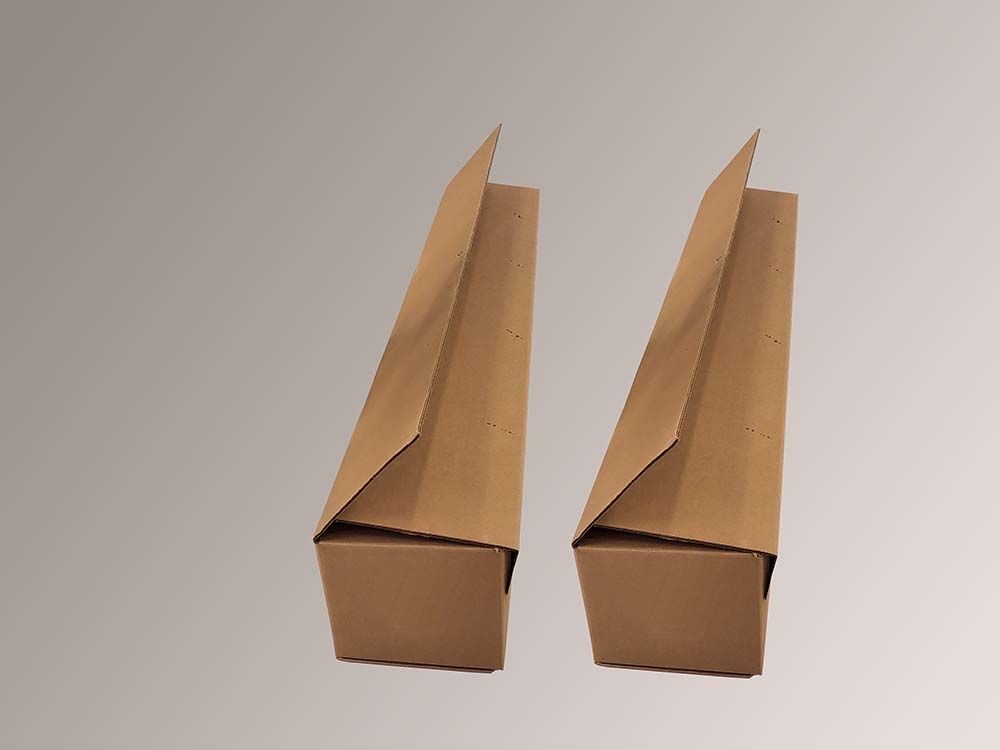
Two Boxes for King an Cal King
All King and California King Terra foundations ship in two boxes.
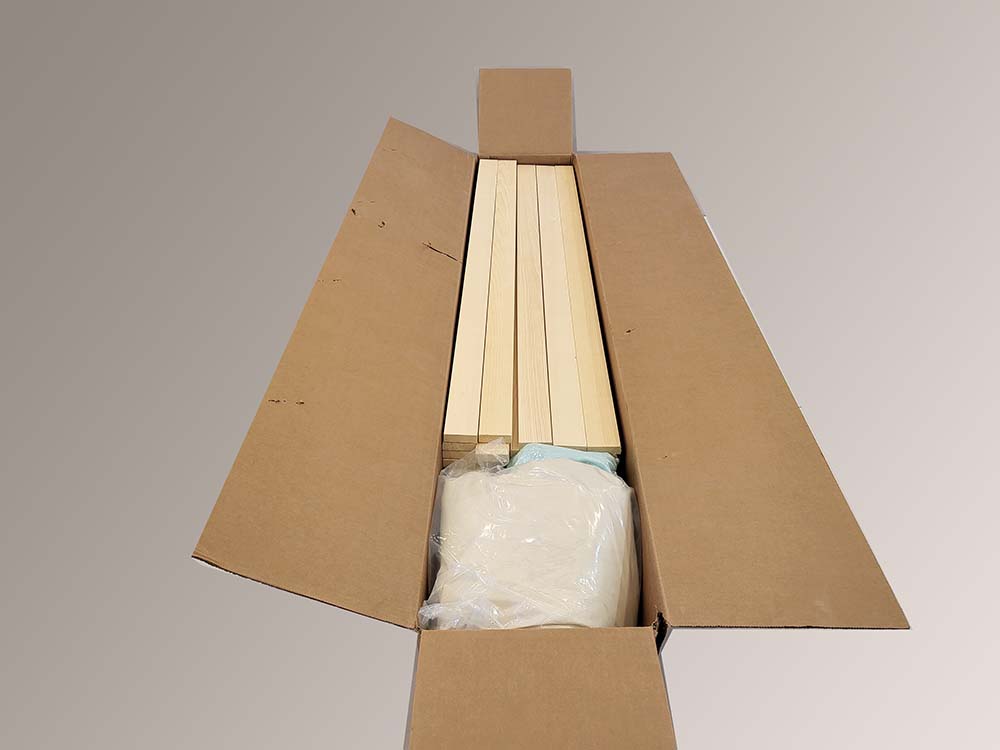
Open Box showing packaging
Package opens from long side for easy access to contents.
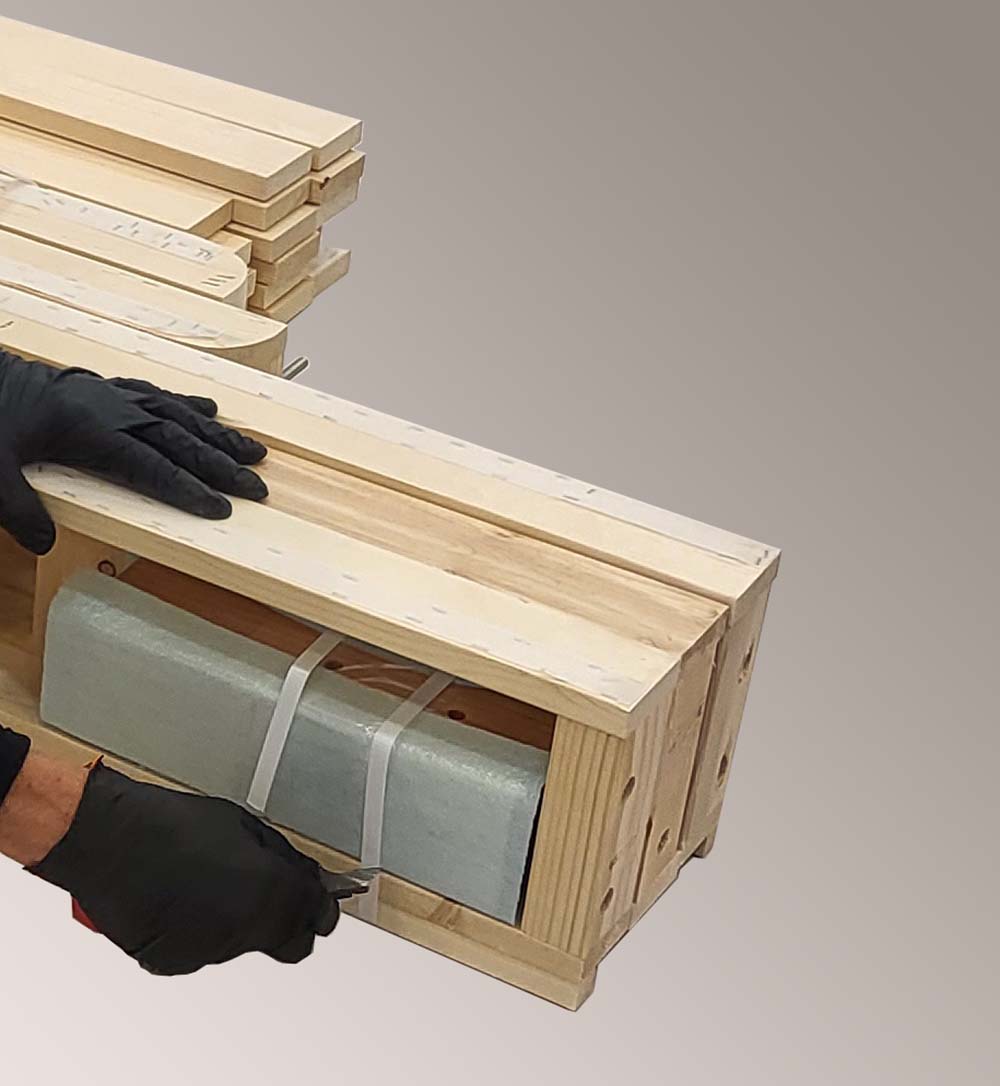
Cut Bands Holding Components
Rails and legs are package as one unit. Cut and separate parts.
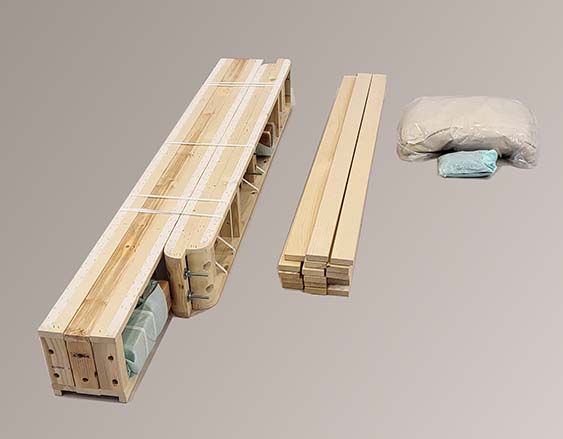
8 components
Package contains 8 components for Full & Queen foundations: 2 side rails, 2 end rails, 1 center rail, 17 slat bundle, bolt package, and cover.

Lay Out Foundation
Pre-stage foundation as shown in picture prior to attaching with bolts.

2 Bolt Connection before tightening
2 Bolt connection for all side, center, and end rails.
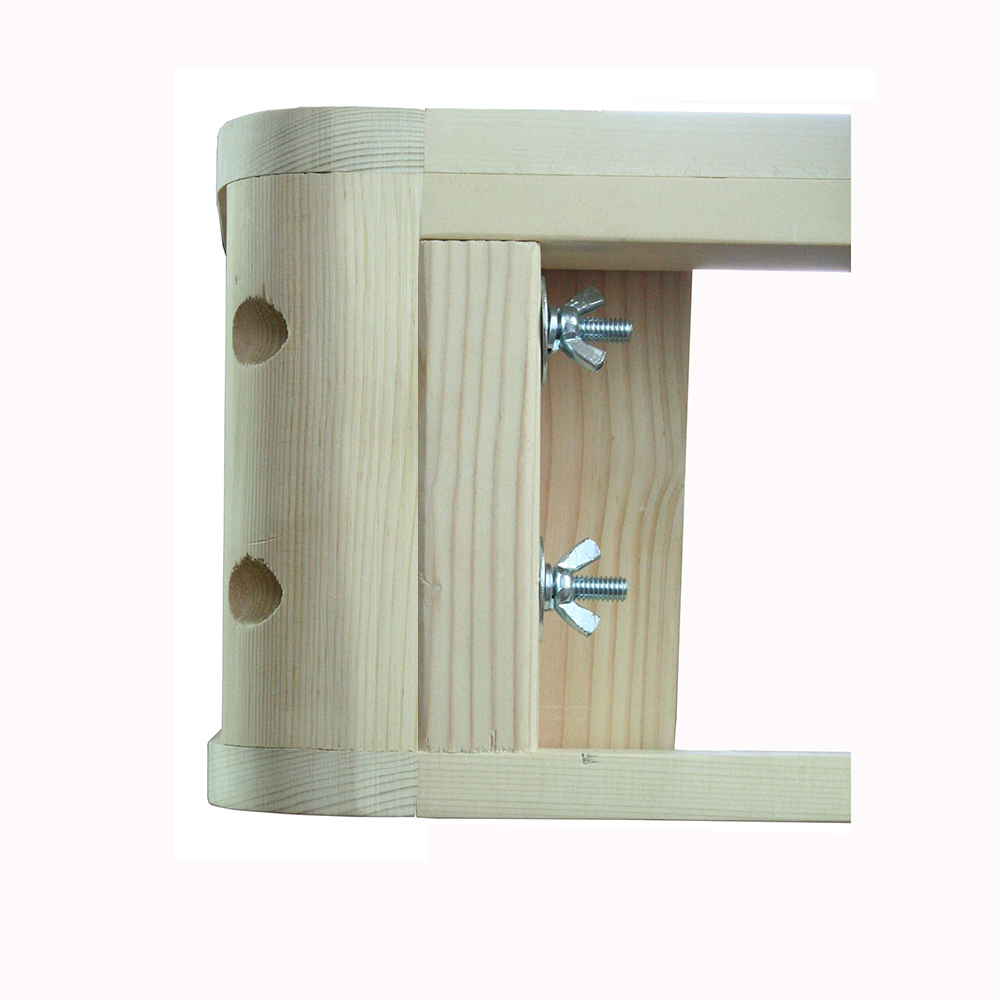
2 Bolt Connection - After tightening
Showing rail connection after tightening and closing with wing nuts. No tools required.
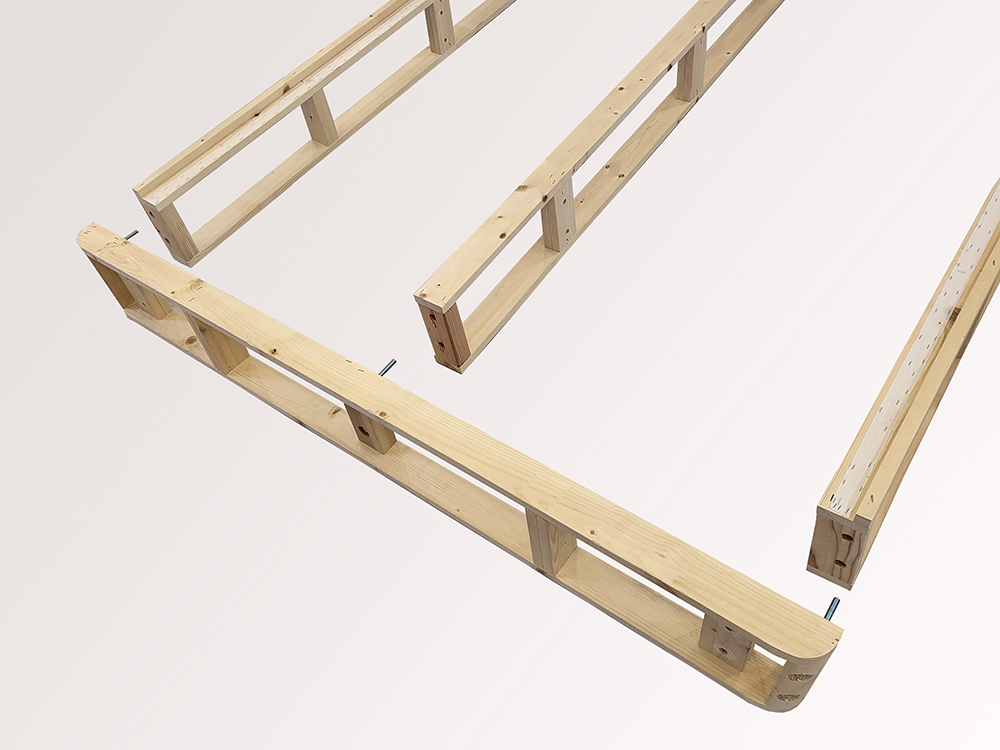
Staged Before Connecting
Picture showing end and center rails prior to butting together and connecting with 2 bolts, 2 washers, 2 lock washer, and wing nut. This will be done for all rail connections.
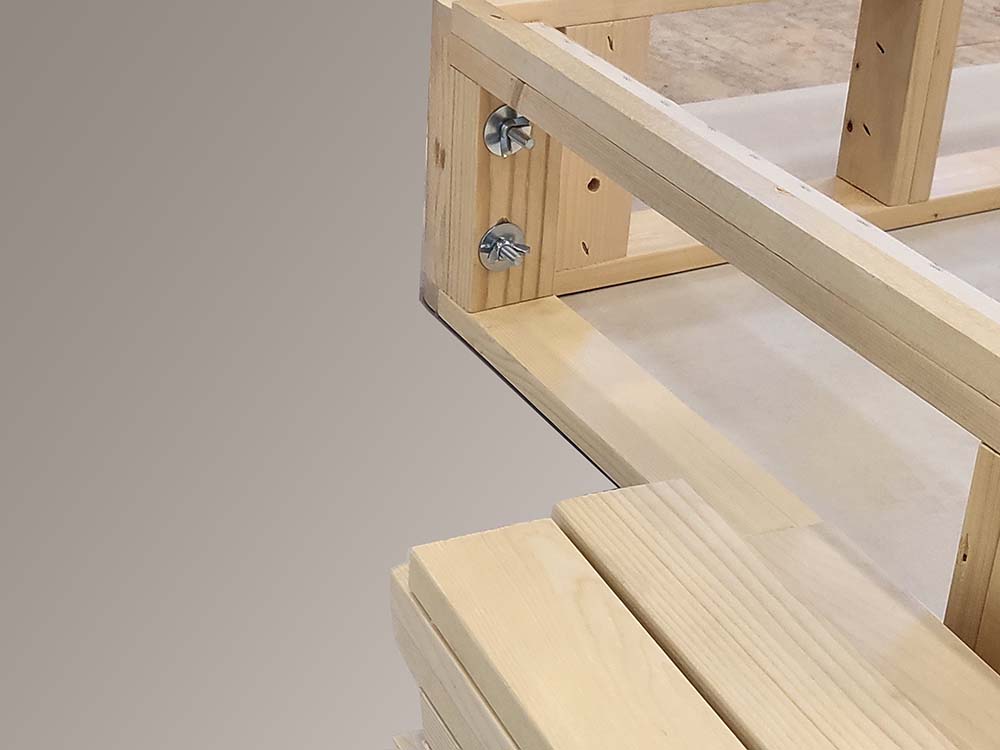
Corner & End Rail Connection
Inside view of corner and end rail after connection with 2 bolts, 2 washers, 2 lock washers, and wing nut.

Center Rail & End Rail Connection
Picture after center rail has been connected with end rail.
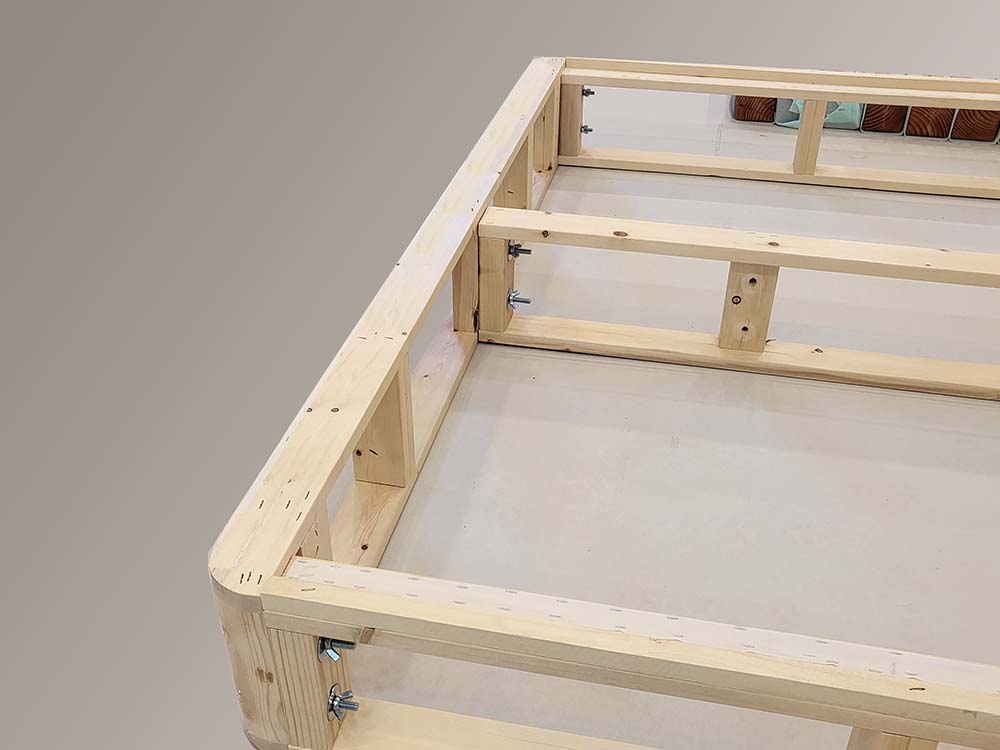
End Rail & 2 Side Rails Bolted Together
Picture showing both side rails and center rail ( Full & Queen) connected to End Rail. Repeat for the second End Rail.

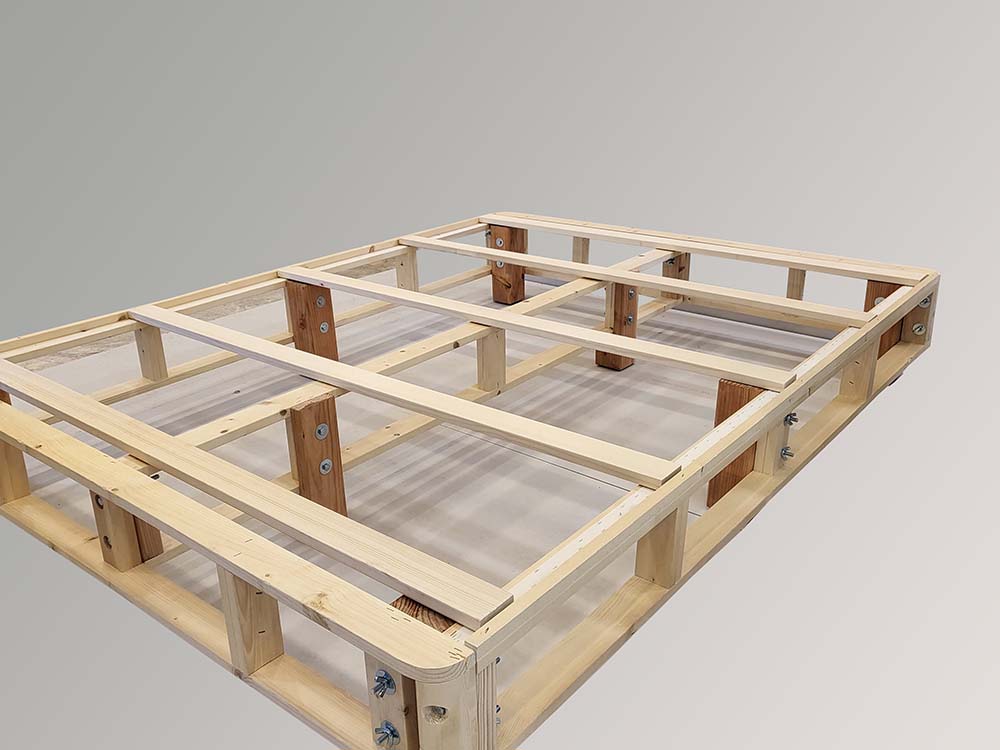
Completed Frame Prior to Leg Attachment
This is completed assembly prior to attaching legs, adding slats, and cover. If you are not attaching legs, skip to placing slats on frame and applying the cover over foundation.
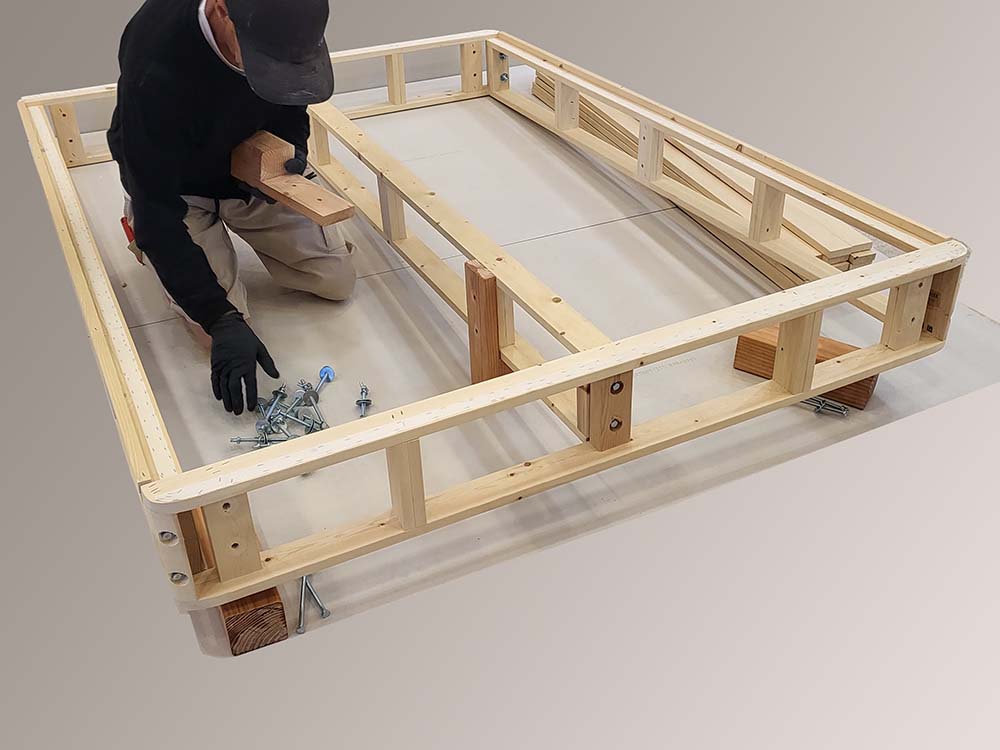
Attaching center rail legs
First legs to attach are the two center rail legs.
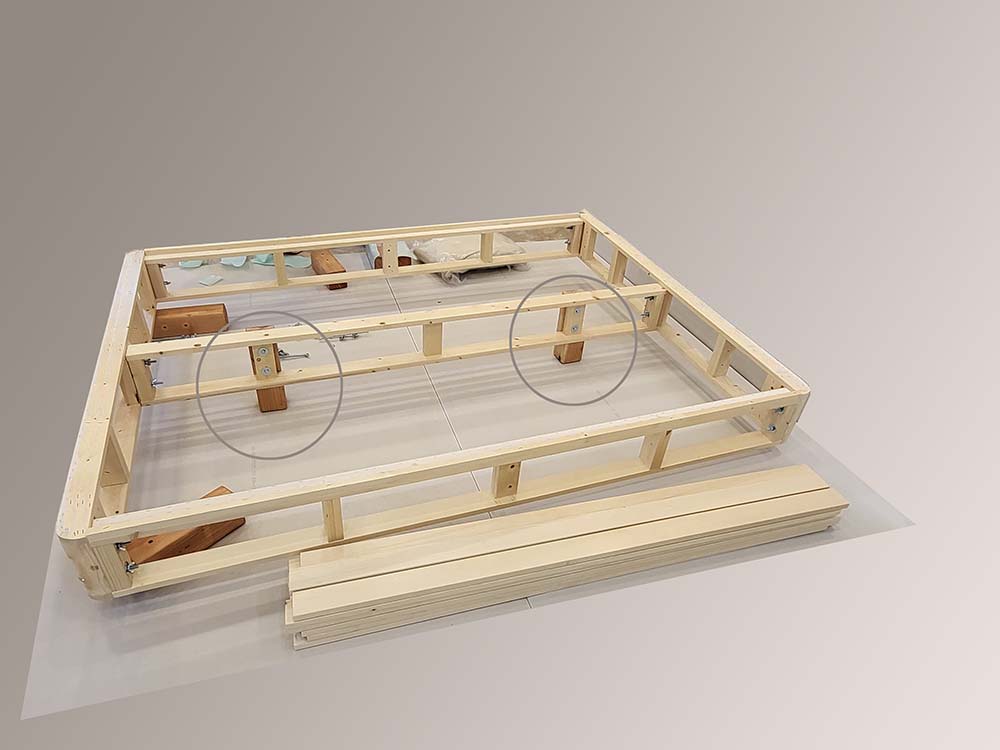
First attach 2 legs to center rail
Legs should be attached to center rail first for ease of assembly.

Corner & Side Rail Legs
After attaching 2 center rail legs the next step is to attached remaining 6 legs to corners and center of side rails.
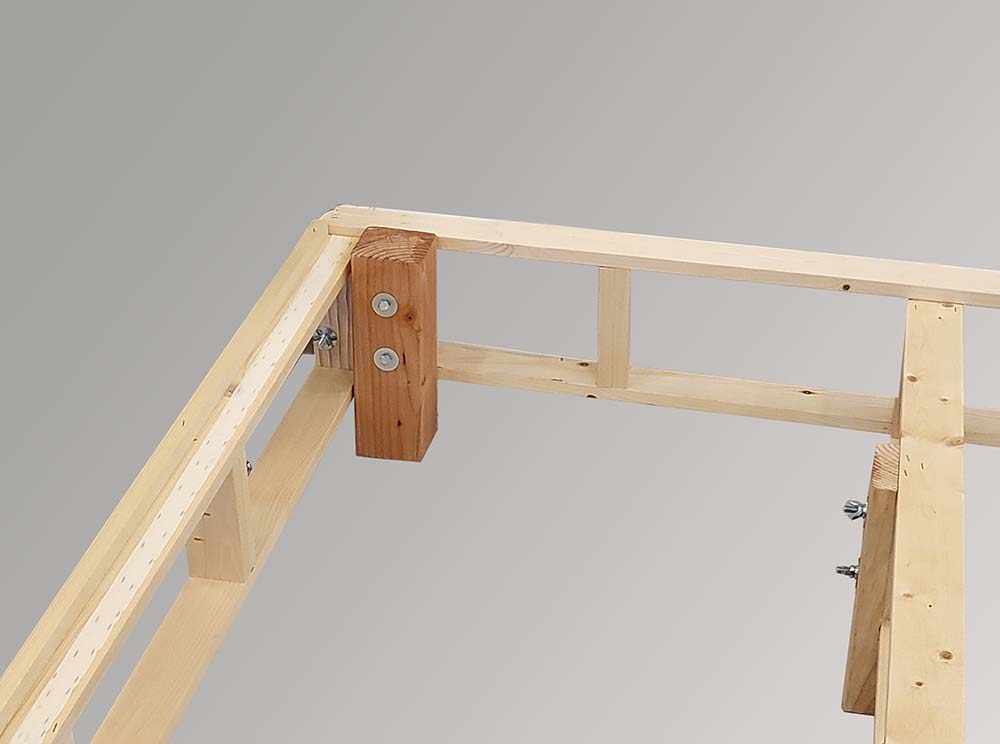
Corner Leg Inside View
Inside view of attached corner leg
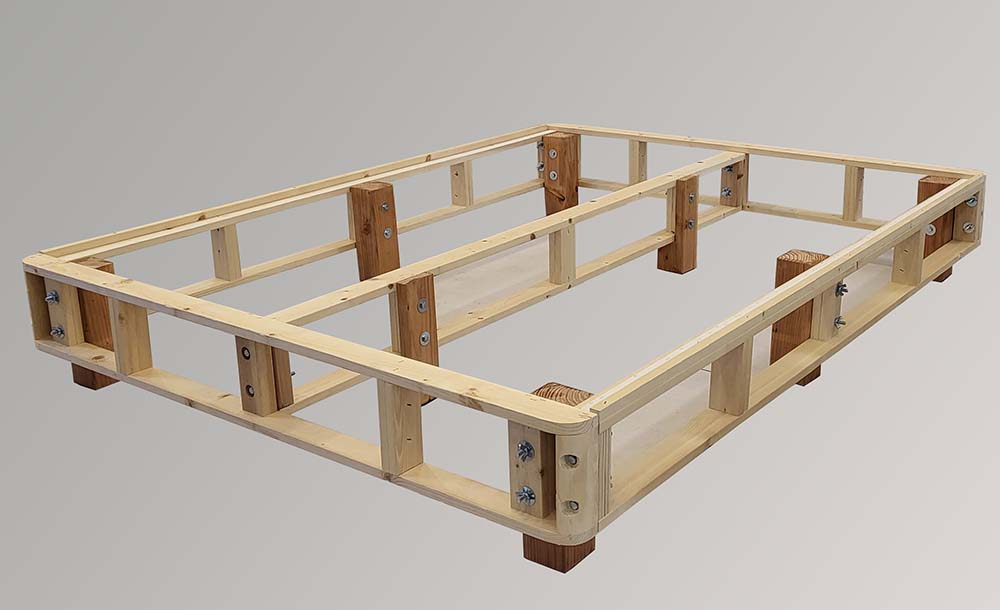
All 8 Legs Attached
View of completed frame with all 8 legs attached. Next step is to lay 17 slats on top of frame. Slats remain in place with velcro strips and are spaced 2″ apart.

First Slat over Side Rail Legs
The first slat should be placed over the legs in the center of the two side rails. Velcro on side rail runner and on individual slats will hold slat in place.
2nd, 3rd, 4th, 5th Slats
Place 2nd & 3rd Slat over end Rail legs

Place remaining slats evenly on foundation

Place cover on foundation, one corner at a time
Place cover on foundation by hooking over any corner. Go to the opposite corner on other side rail. Repeat for 2 remaining corners. Pull cover down over sides of entire foundation.
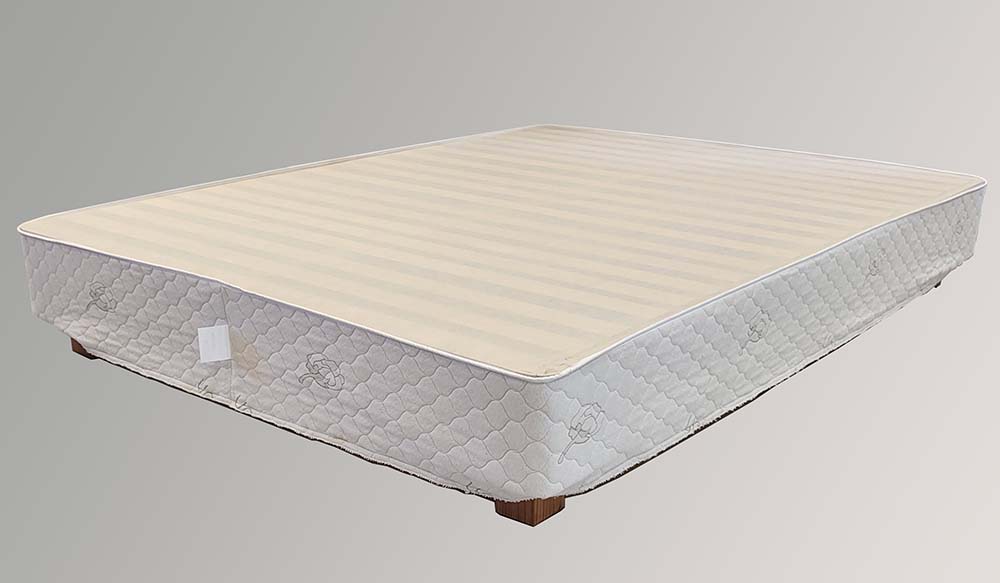
Cover over entire foundation
The cover is over the entire foundation and ready to be tucked against the bottom underside of all side rails. Pull tight to eliminate any wrinkles on top surface.
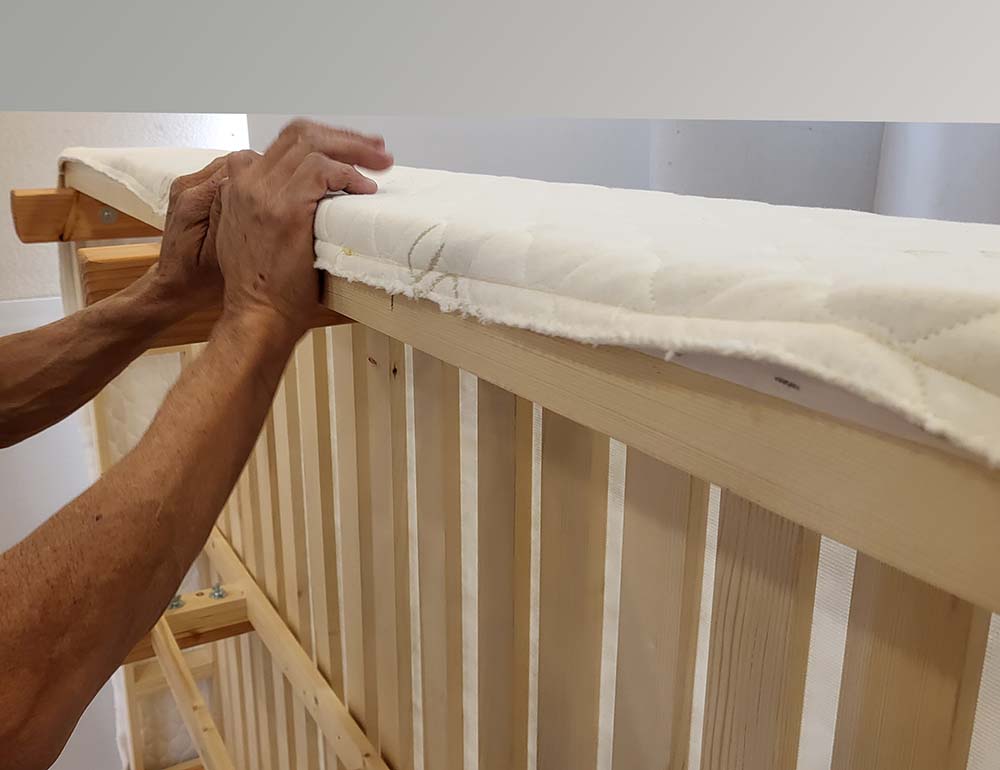
Tuck Cover Velcro to Bottom Side rails & End rails.
Attach bottom of cover to all side and end rails by pressing velcro on cover to velcrow on wood rails.
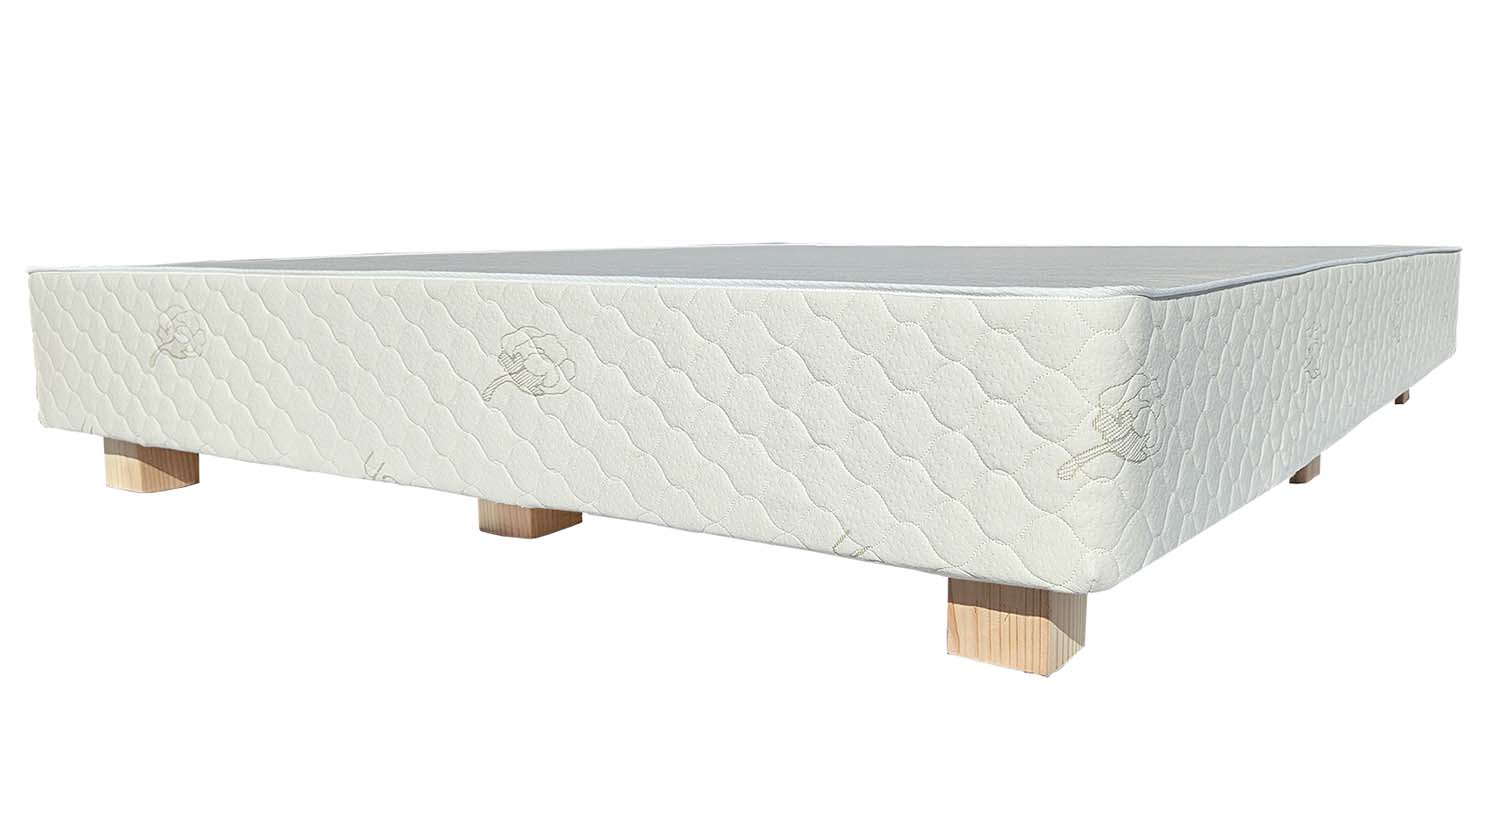
- Made from Northwest Spruce kiln-dried Premium Wood
- Luxury Organic Cover with Quilted Border
- More Slats for Maximum Support
- Natural Air Flow, all slats less than 3″ apart
- Easy Assembly in 20 minutes
